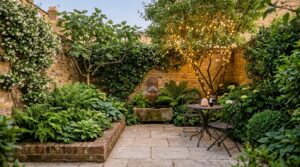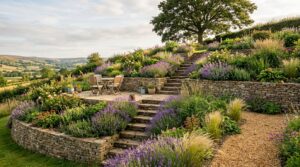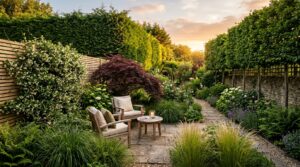
Garden edging is a small detail with an outsized effect. It decides where the lawn stops, where the mulch stays, where gravel does not spill, and whether a border looks intentional or unfinished. A good edge makes ordinary planting look sharper before you add a single new plant.
Contents
- 01. Weathered Steel Strip Edging
- 02. Brick Soldier Course
- 03. Flat Brick Mowing Strip
- 04. Natural Stone Setts
- 05. Spade-Cut Lawn Edge
- 06. Cobblestone Edge
- 07. Timber Sleeper Edge
- 08. Woven Willow Hurdle Edge
- 09. Gravel Stop Strip
- 10. Living Boxwood Edge
- 11. Lavender Hedge Edge
- 12. Reclaimed Tile Edge
- 13. Rope Edge for Coastal Gardens
- 14. Concrete Kerb Edge
- 15. River Rock Dry Creek Edge
- 16. Gabion Basket Edge
- 17. Metal Hoop Border
- 18. Log Roll Edging
- 19. Terracotta Pot Edge
- 20. Paver Edge in Gravel
- 21. Alpine Stone Crevice Edge
- 22. Recycled Glass Bottle Edge
- 23. Low Dry-Stone Wall Edge
- 24. No-Dig Cardboard and Mulch Edge
- 25. Hidden Root Barrier Edge
The best edging is not always the most expensive. Sometimes it is a hidden metal strip. Sometimes it is a spade-cut lawn edge renewed twice a year. The right choice depends on what the edge has to hold back: grass, soil, gravel, bark, roots, wheel traffic, or just the eye.
Use these ideas as design tools, not just products. Match crisp metal to modern planting, brick to cottage beds, stone to informal borders, and living edges where you want the line to soften rather than shout.
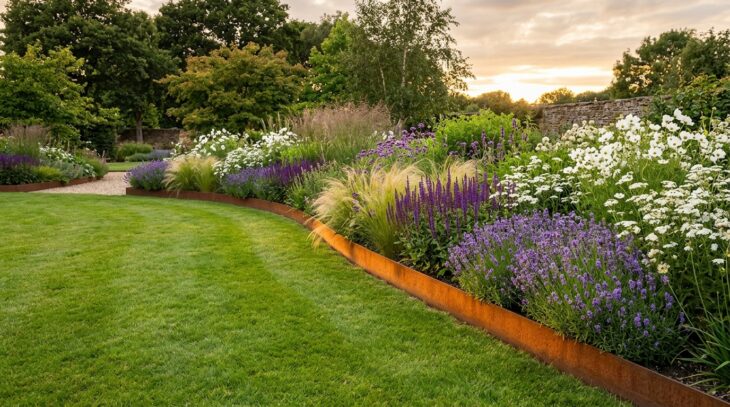
01. Weathered Steel Strip Edging
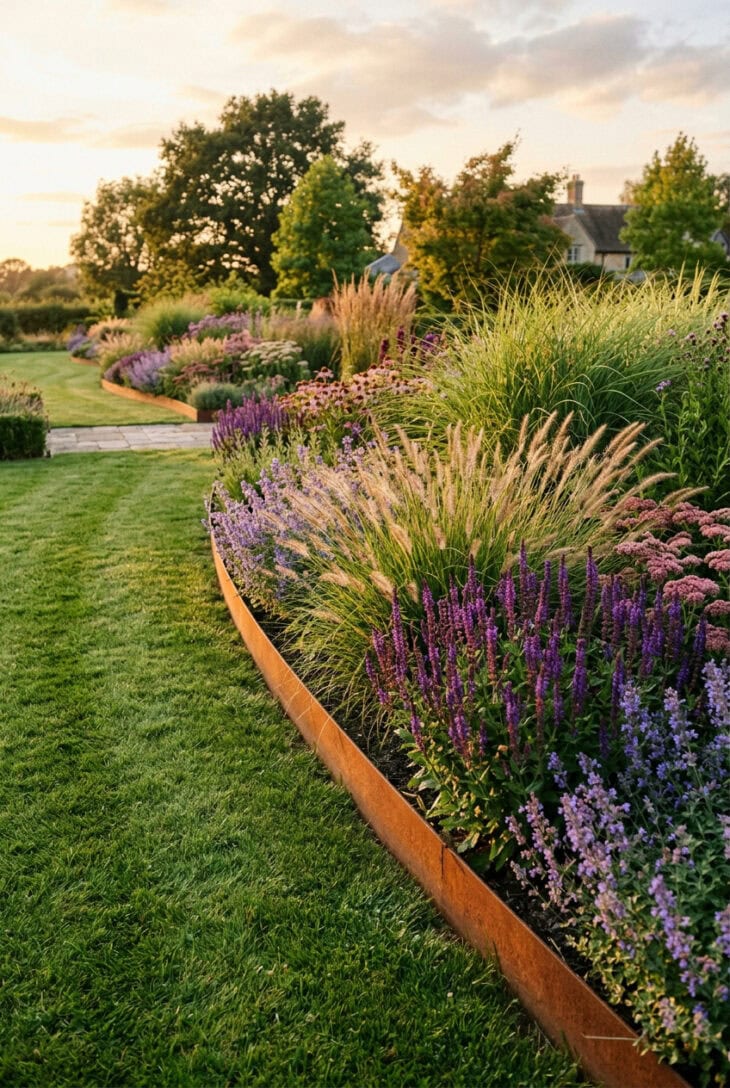
What you see A fine rust-colored line running through the garden like a drawn curve. The steel is almost flush with the lawn, but it gives the whole border a confident shape.
Why it works Steel gives you a crisp edge without visual bulk. The weathered surface sits naturally with bark, gravel and dry planting, so it works especially well in modern garden ideas and prairie-style borders.
How to get it Use 4 to 6in (10 to 15cm) deep edging with proper stakes, set the top just proud of soil level, and overlap joins so the line cannot kink. Wear gloves: the cut ends are sharp until capped or folded.
02. Brick Soldier Course
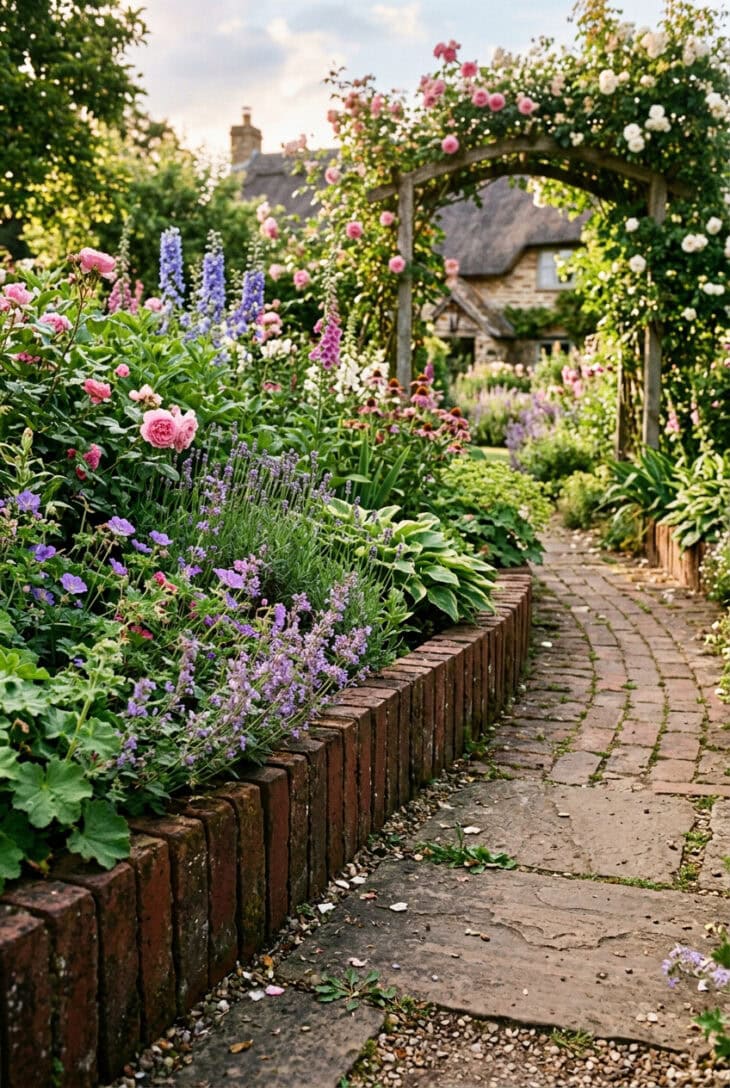
What you see Red bricks standing on end, shoulder to shoulder, making a warm toothed edge between path and planting. Flowers lean over it without hiding the rhythm.
Why it works Upright brick has enough depth to hold back soil and enough character to suit older houses. It is more visible than metal, which is the point in a cottage garden or informal front path.
How to get it Dig a narrow trench, lay 2in (5cm) of compacted sharp sand or mortar, and set every brick to a string line. For curves, leave tiny wedge gaps on the outer side and backfill firmly.
03. Flat Brick Mowing Strip
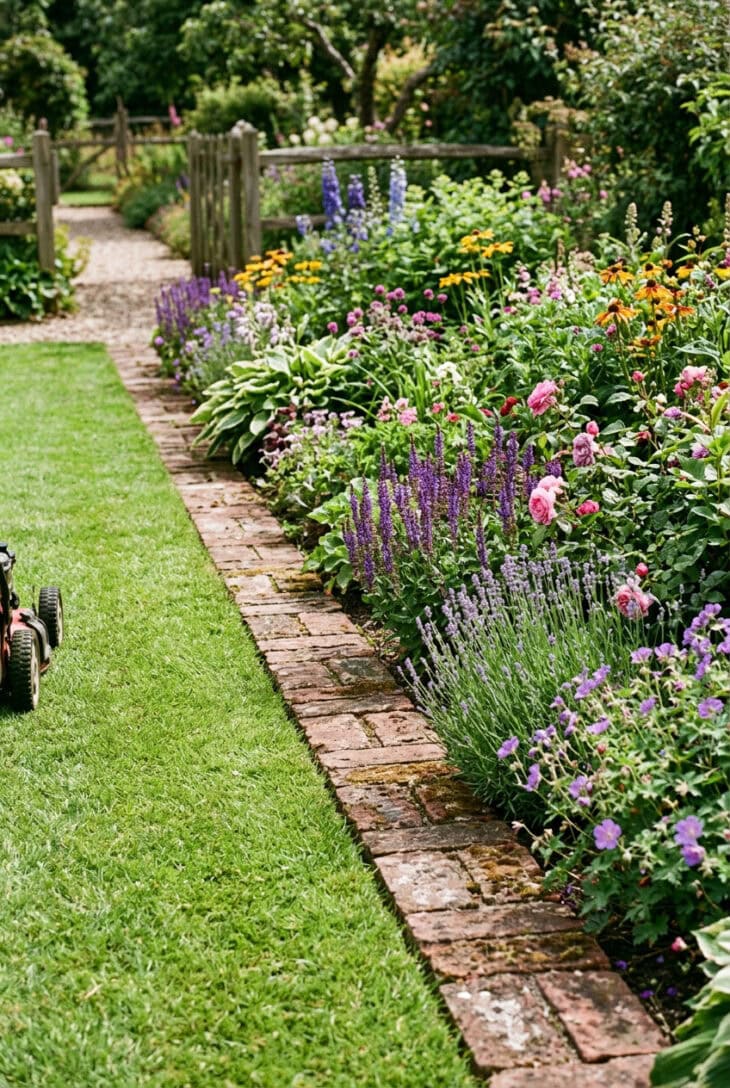
What you see A flat ribbon of brick sitting level with the grass. It reads as a border detail, but it is really a track for the mower wheel.
Why it works A mowing strip removes the fiddly trimming that makes lawn edges look tired. It is one of the simplest low-maintenance garden ideas because the tool does the neat work for you.
How to get it Lay bricks on a compacted base so the top finishes exactly level with the lawn. If they sit high, they scalp mower blades; if they sink, grass creeps over them.
04. Natural Stone Setts
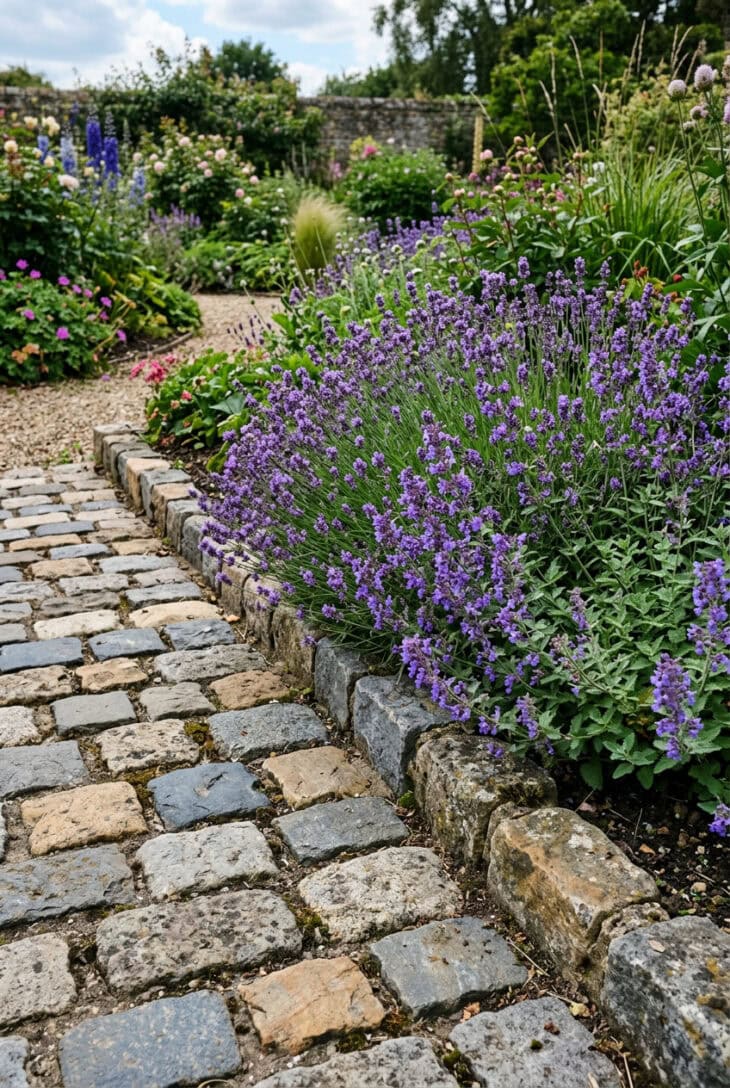
What you see Small blocks of stone making a low, chunky edge. The line is tidy, but each stone has enough variation to keep it from feeling manufactured.
Why it works Setts have weight, texture and permanence. They suit garden paths, gravel areas and older brick or stone houses because they feel like part of the hardscape rather than an add-on.
How to get it Bed them on mortar or compacted grit, depending on how permanent the edge needs to be. Keep the face line true even if the back edge varies, because the front line is what the eye reads.
05. Spade-Cut Lawn Edge
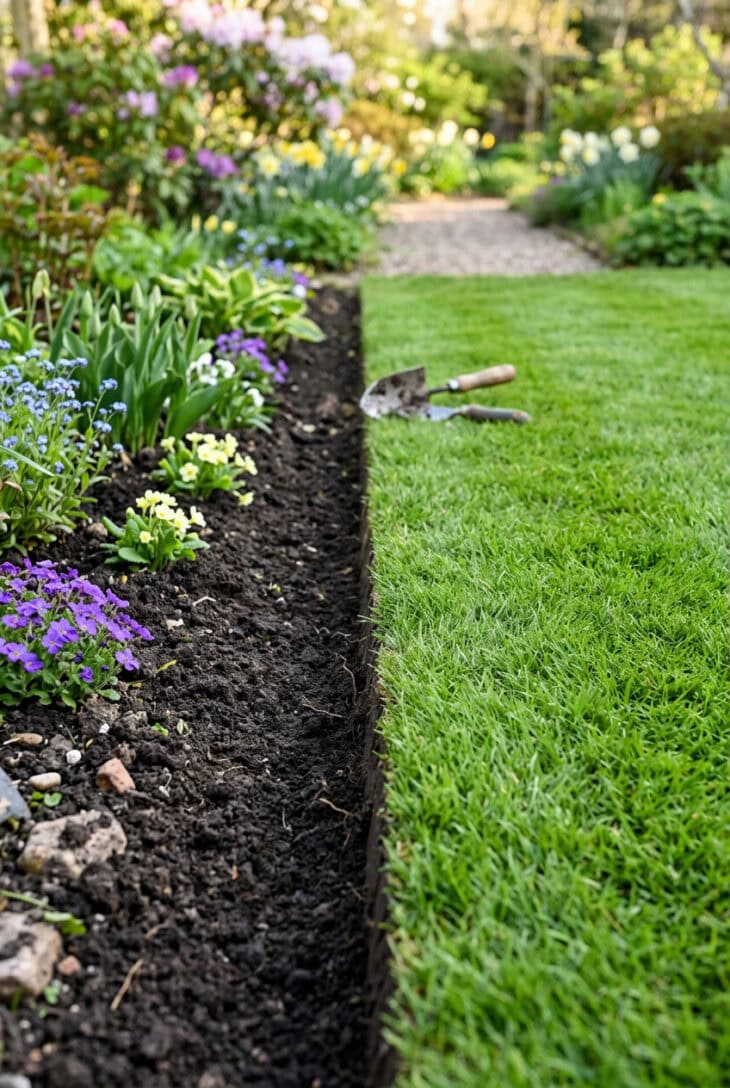
What you see Turf sliced into a clean vertical face, with dark soil beyond it. There is no material at all, just a precise shadow line.
Why it works Nothing looks cleaner than a freshly cut lawn edge, and nothing is cheaper. It is ideal when you want the plants to be the focus and the boundary to disappear.
How to get it Use a half-moon edger against a hose or rope for curves. Recut in spring and again in midsummer, and keep mulch pulled back so grass does not root across the gap.
06. Cobblestone Edge
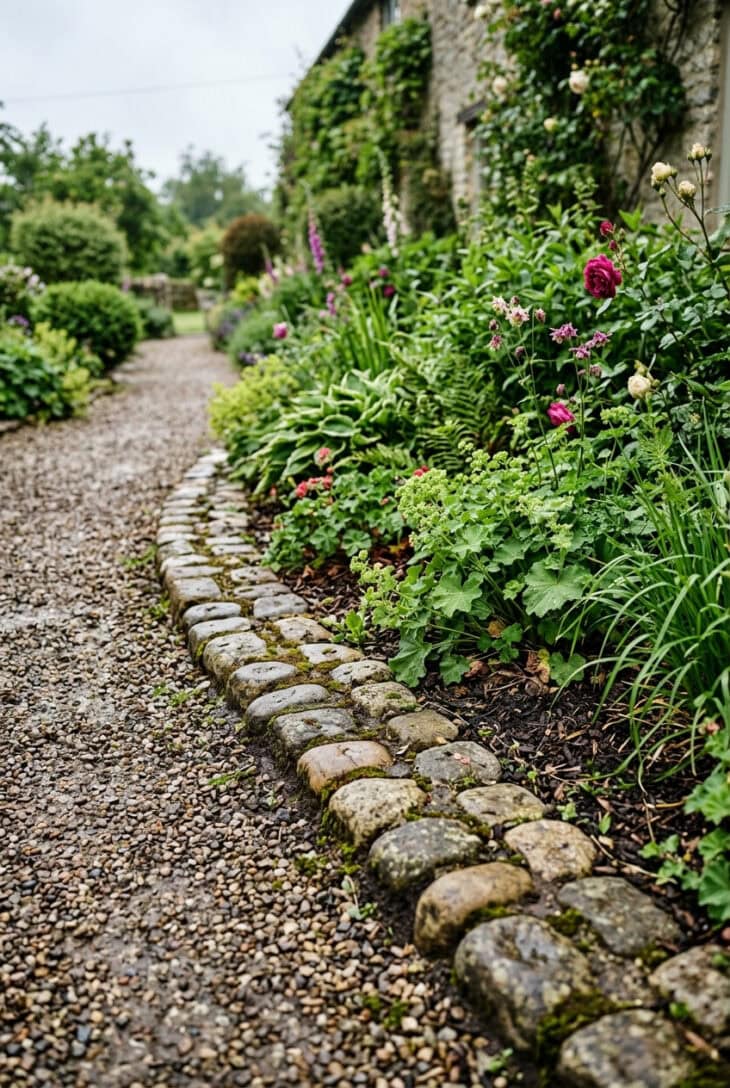
What you see Rounded stones half-sunk into the ground, making a soft old edge between gravel and planting. Moss catches in the joints and makes it feel settled.
Why it works Cobblestones soften hard surfaces. They are less crisp than setts, but that is useful where a path or border would otherwise look too new.
How to get it Sort stones by size first, then bury at least a third of each one so they do not roll. Use them for gentle curves rather than razor-straight contemporary lines.
07. Timber Sleeper Edge
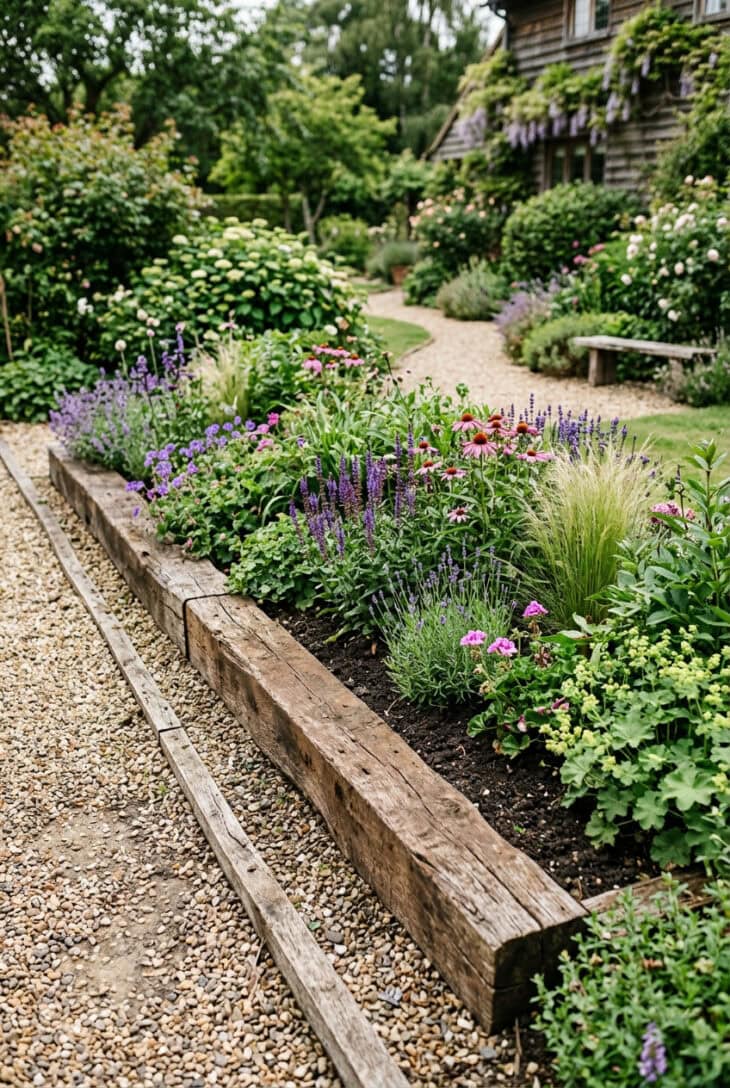
What you see A thick timber beam holding a raised border in place. It gives the bed a simple, practical frame without looking delicate.
Why it works Sleepers are useful where the edge has a job beyond looking neat. They can retain soil, define a vegetable bed, or make a level line across a slight slope.
How to get it Use treated softwood or naturally durable timber, pin it with rebar or timber stakes, and keep it off permanently wet soil where possible. Avoid old railway sleepers treated with creosote around edible crops.
08. Woven Willow Hurdle Edge
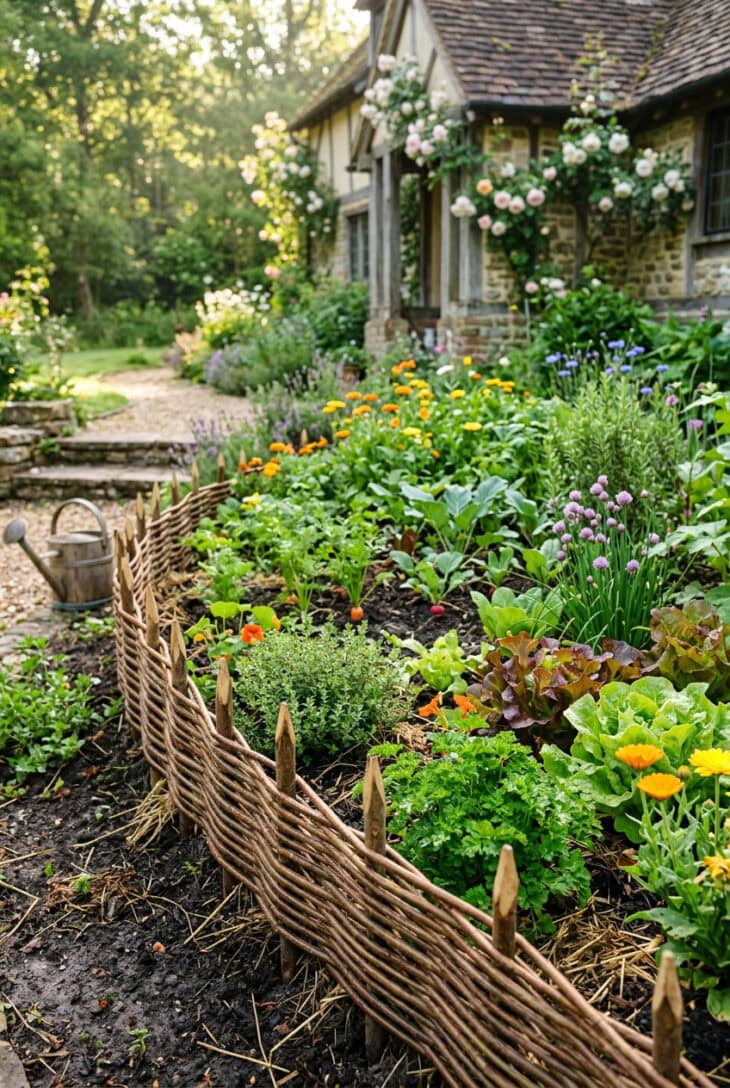
What you see A low woven fence, only knee high, curling around herbs and lettuces. It feels handmade and temporary in the best way.
Why it works Willow edging brings texture to a vegetable garden or cottage border without the heaviness of brick or stone. It also slows loose mulch from spilling out.
How to get it Push short stakes into moist soil, then weave flexible willow or hazel rods through them. Expect a lifespan of three to five years, which is acceptable for a natural material in contact with soil.
09. Gravel Stop Strip
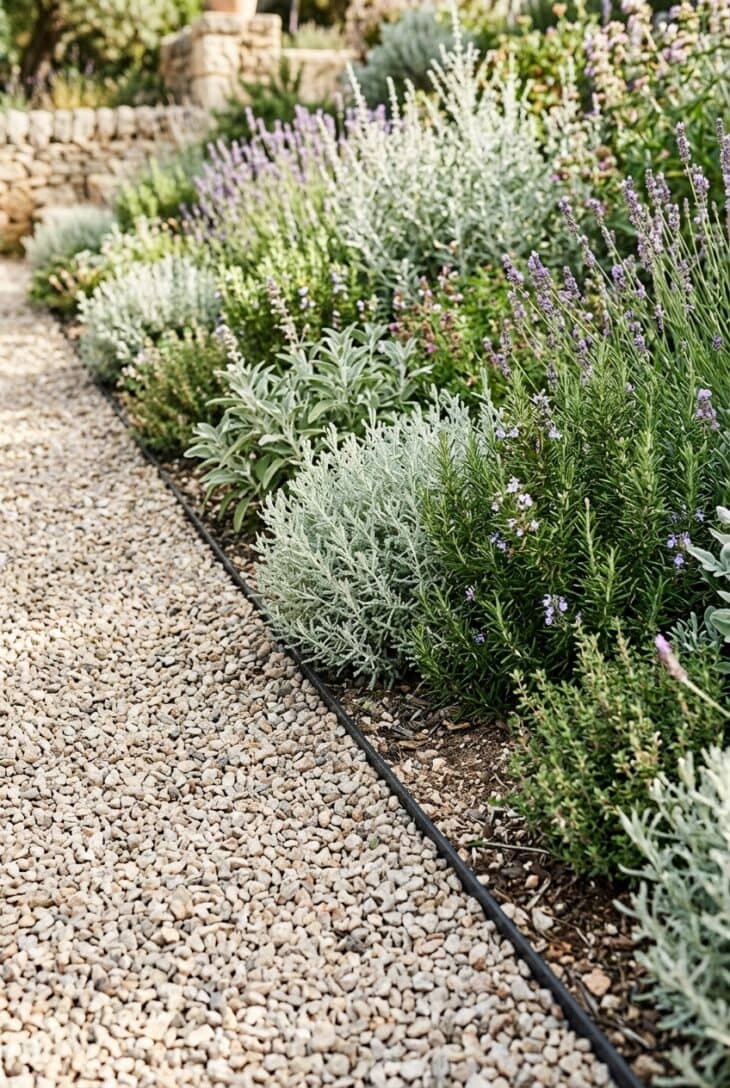
What you see Pale gravel ends cleanly against planting, with only a thin dark line showing where it is being held back.
Why it works Gravel migrates unless it is contained. A low metal stop keeps paths and gravel garden areas sharp without adding a raised trip edge.
How to get it Set the strip before spreading gravel, stake it firmly, and keep the top slightly below the finished gravel surface. This makes it work visually while still doing the hidden retaining job.
10. Living Boxwood Edge
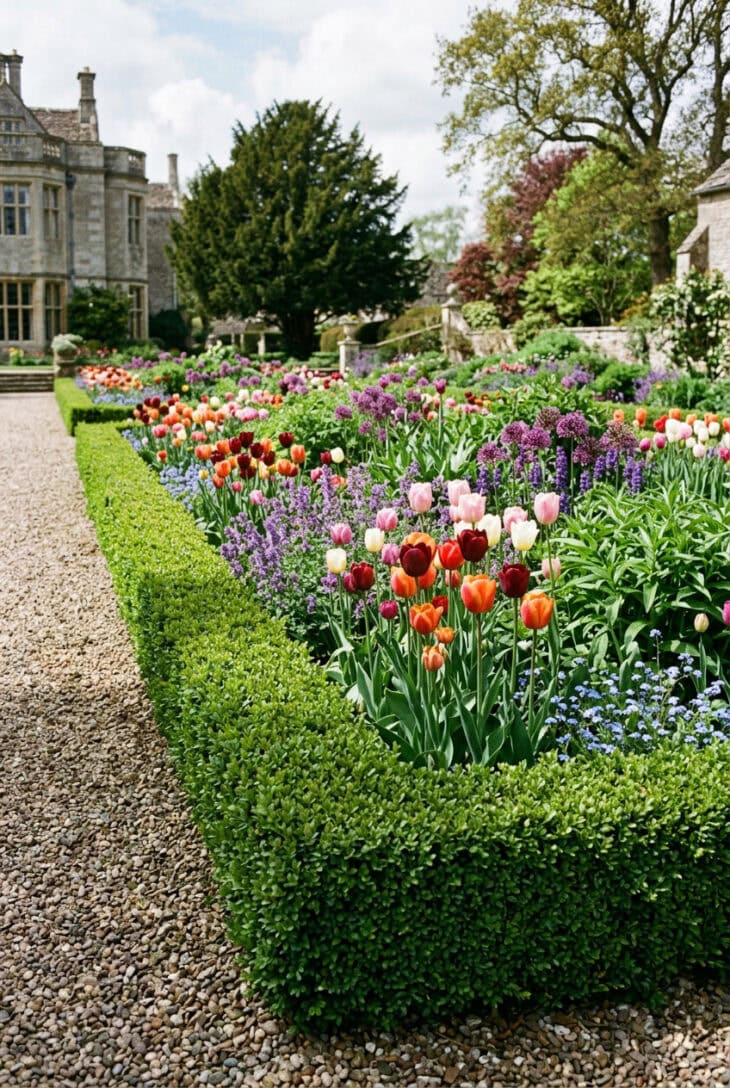
What you see A low evergreen hedge clipped into a neat green frame. Flowers rise behind it, but the box gives the bed structure even when nothing is blooming.
Why it works Living edging turns a border into a designed object. Box is the classic choice because it clips tightly, but it is best where air movement is good and disease pressure is low.
How to get it Plant small young plants close, around 8 to 10in (20 to 25cm) apart, and clip lightly rather than hard in the first year. In box-blight areas, use dwarf yew, Ilex crenata or Lonicera nitida instead.
11. Lavender Hedge Edge
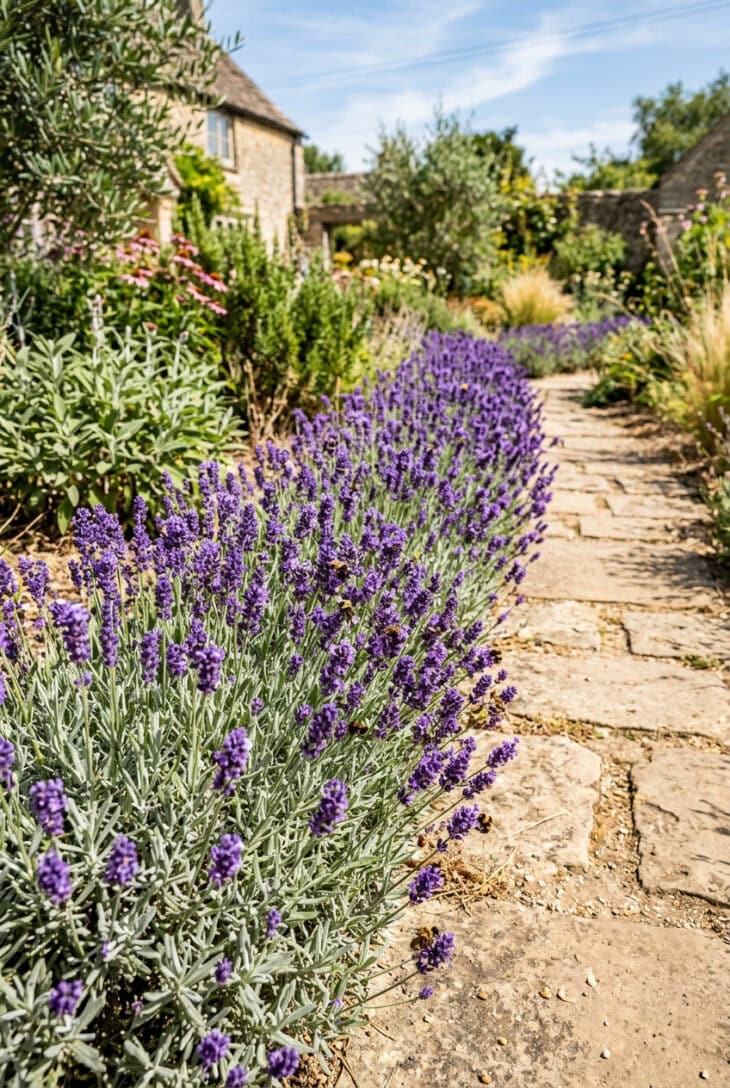
What you see A fragrant silver-green line along the path, topped in summer with purple flower spikes and bees.
Why it works Lavender edges a space and plants it at the same time. It suits sunny drought-tolerant garden ideas, and it makes a path feel intentional without hard materials.
How to get it Choose compact English lavender, plant in free-draining soil, and clip after flowering without cutting into old bare wood. It fails in wet winter soil, so drainage matters more than feeding.
12. Reclaimed Tile Edge
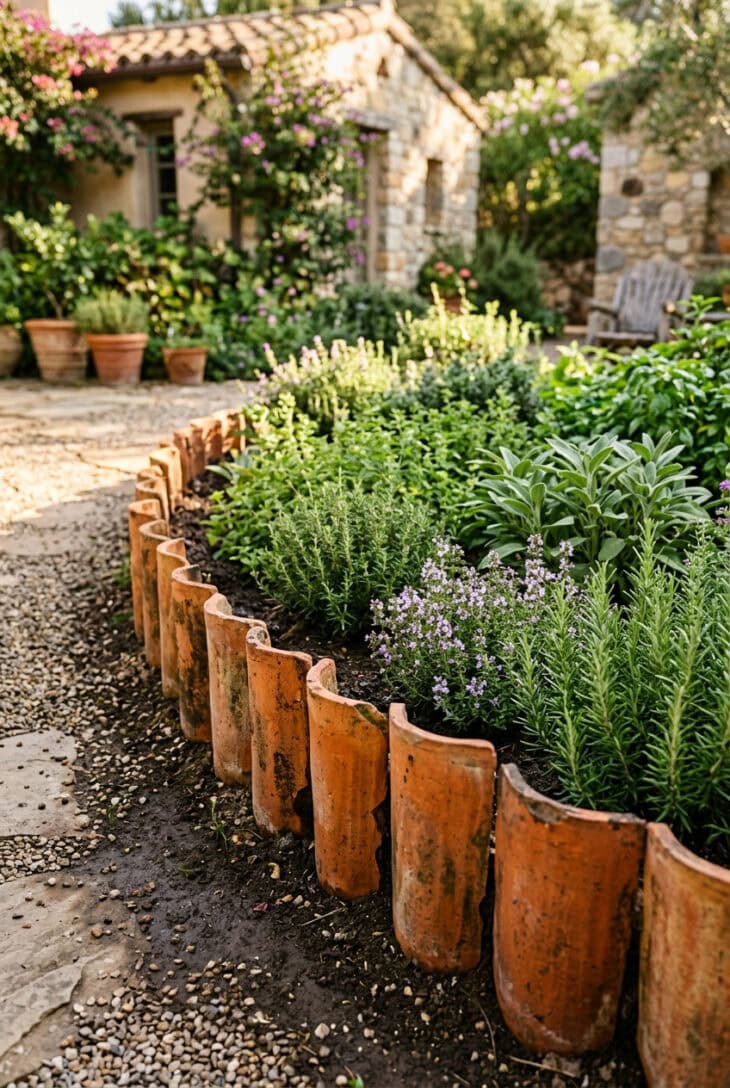
What you see Curved terracotta tiles standing upright, making a warm scalloped edge around herbs and flowers.
Why it works Reclaimed tile has instant age and color. It is especially good around herb garden ideas, where the baked clay echoes terracotta pots and dry Mediterranean planting.
How to get it Sink each tile at least a third of its depth into a narrow trench and backfill firmly. Use it where the edge is decorative, not where it must retain heavy wet soil.
13. Rope Edge for Coastal Gardens
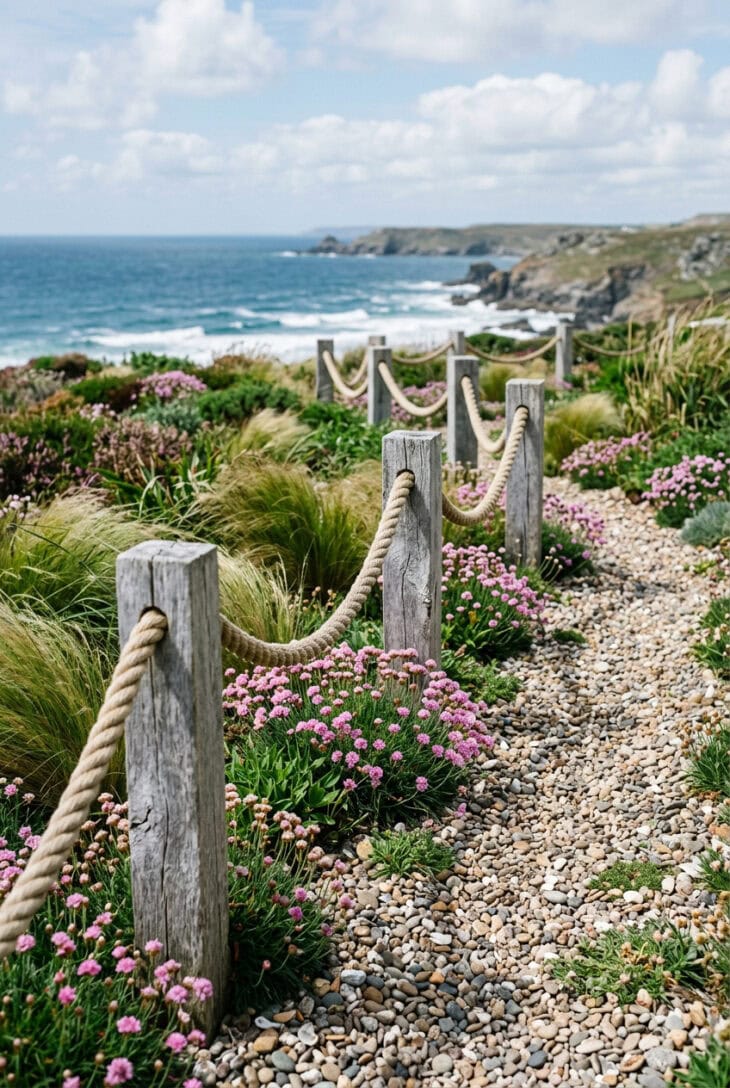
What you see Thick rope looping between short weathered posts, more suggestion than barrier, with shingle and grasses behind it.
Why it works Rope belongs visually in a coastal garden. It defines a loose edge without pretending to be formal, and it looks better as it weathers.
How to get it Use rot-resistant posts and synthetic hemp-look rope if the edge will stay wet. Keep it low and relaxed; once it becomes a fence, it loses the easy coastal feel.
14. Concrete Kerb Edge
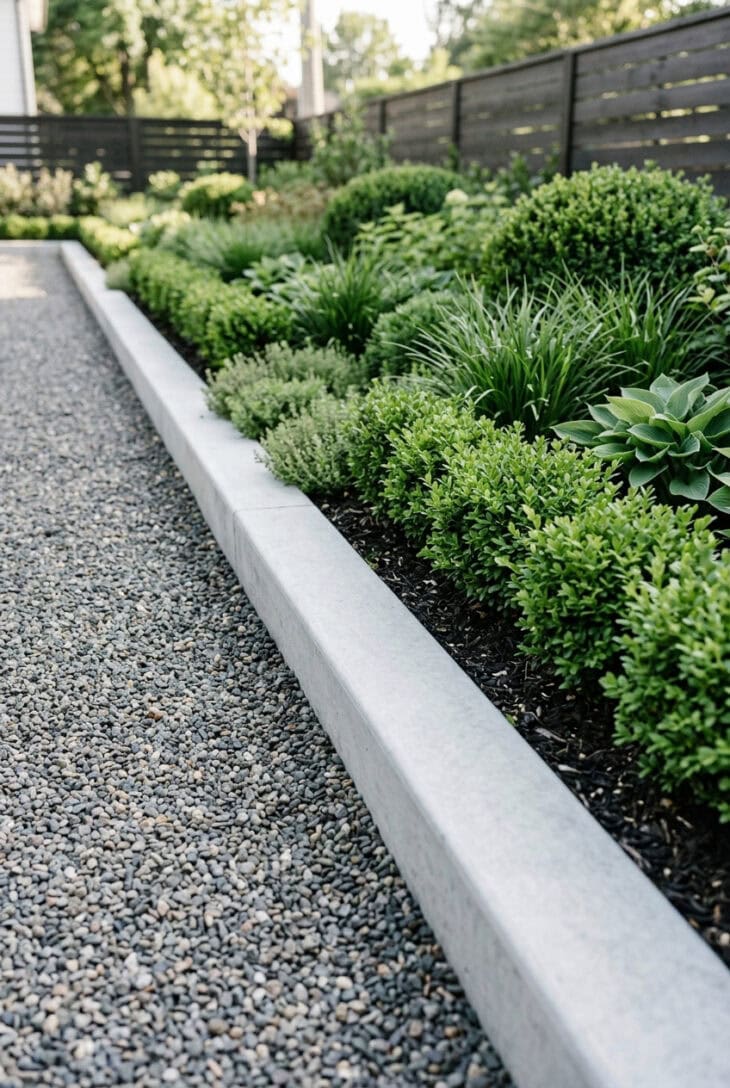
What you see A smooth pale concrete kerb making a strong permanent line between gravel and planting.
Why it works Concrete is unapologetically architectural. It suits contemporary courtyards, drive edges and places where a thin strip would not be strong enough.
How to get it Form it carefully, because every wobble is permanent. Add control joints on long runs, slope the top slightly so water sheds, and avoid making it so tall that it becomes a shin-level obstacle.
15. River Rock Dry Creek Edge
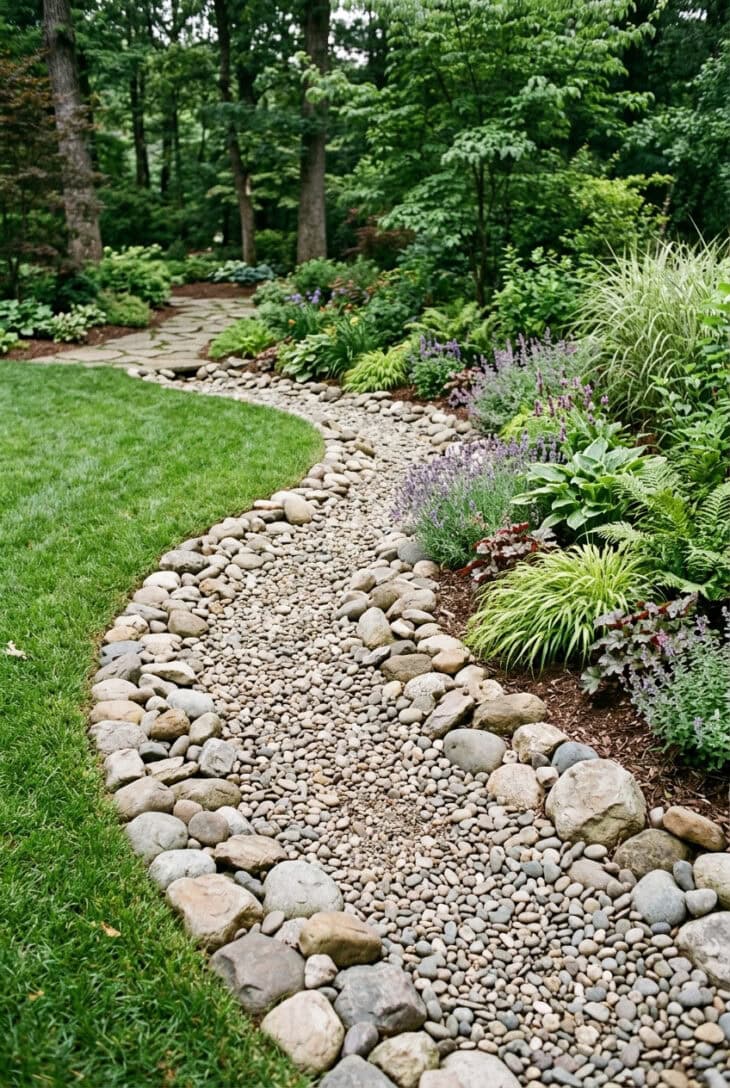
What you see A wide band of smooth river stones wandering between lawn and planting like a dry stream.
Why it works A rock edge can also manage water. Where runoff crosses a bed, a dry creek edge slows it, spreads it, and makes the drainage solution look designed.
How to get it Excavate a shallow swale, line only if you must stop weeds, and use mixed stone sizes rather than one bag of identical pebbles. Keep the lowest point where water naturally wants to travel.
16. Gabion Basket Edge
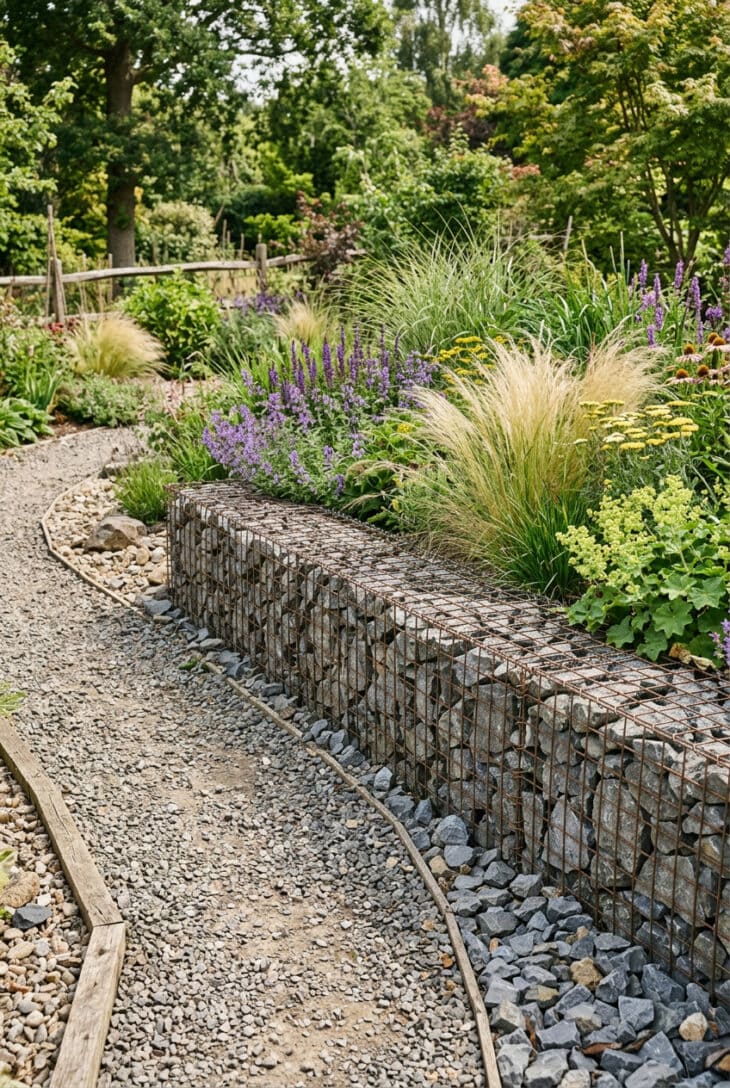
What you see Wire baskets packed with stone, low enough to sit on the edge of a bed but strong enough to hold back soil.
Why it works Gabions bring mass without a solid wall. They drain freely, suit sloped sites, and make a rugged edge for rock garden ideas or contemporary planting.
How to get it Use proper galvanized baskets, level the base, and hand-place the visible face stones before filling the middle. Narrow gabions need careful anchoring if they retain more than a small height of soil.
17. Metal Hoop Border
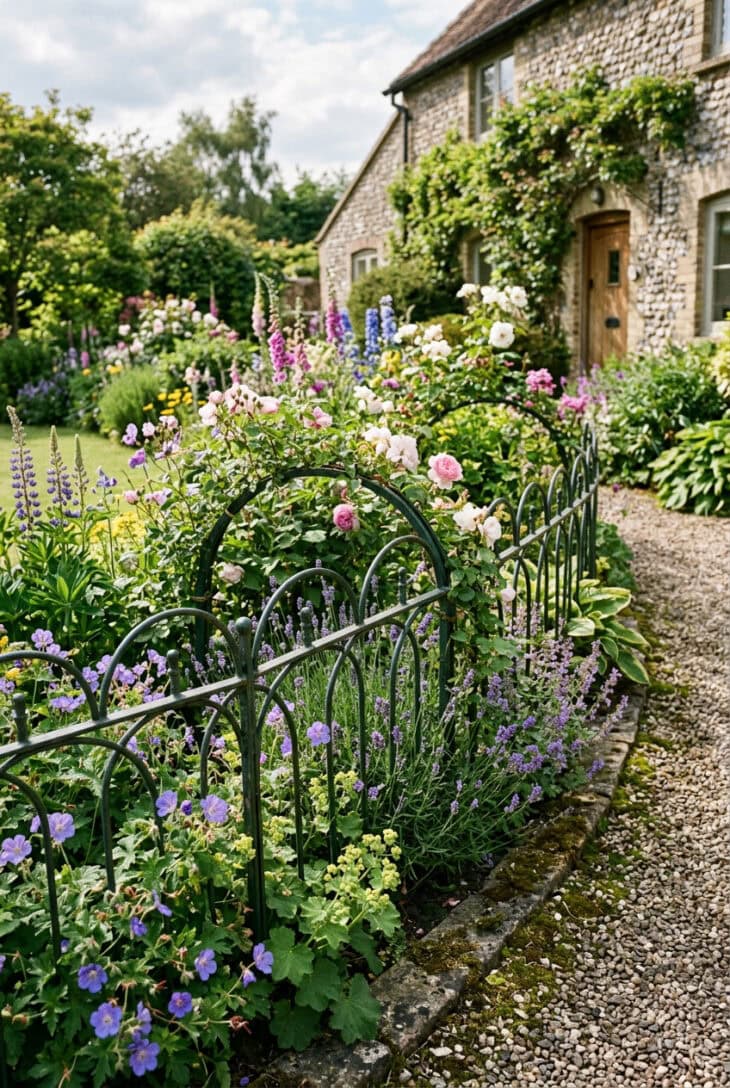
What you see A repeating line of small dark hoops holding floppy plants back from the path.
Why it works Hoop edging is partly support and partly decoration. It is useful in soft borders where geraniums, catmint or annuals lean over paths after rain.
How to get it Choose powder-coated steel rather than thin painted wire, and push the legs deep enough that the hoops do not tilt. Use it in short runs; long runs can look busy.
18. Log Roll Edging
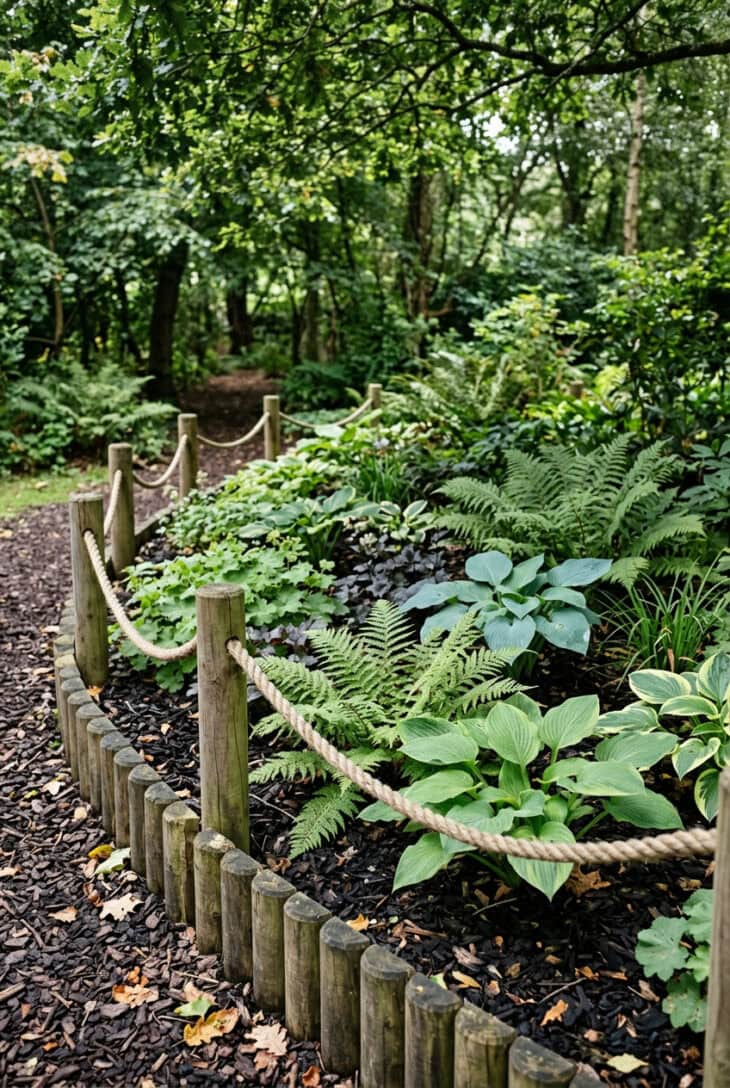
What you see Short rounded timber pieces making a rustic edge around ferns and bark mulch.
Why it works Log roll is not refined, but it is quick, cheap and visually at home in a shade garden or woodland corner. It is best when you let it look natural.
How to get it Buy pressure-treated rolls with wire backing, trench them in by a third, and pin every few feet. Do not use it for crisp front-yard formal beds; that is asking the wrong material to behave.
19. Terracotta Pot Edge
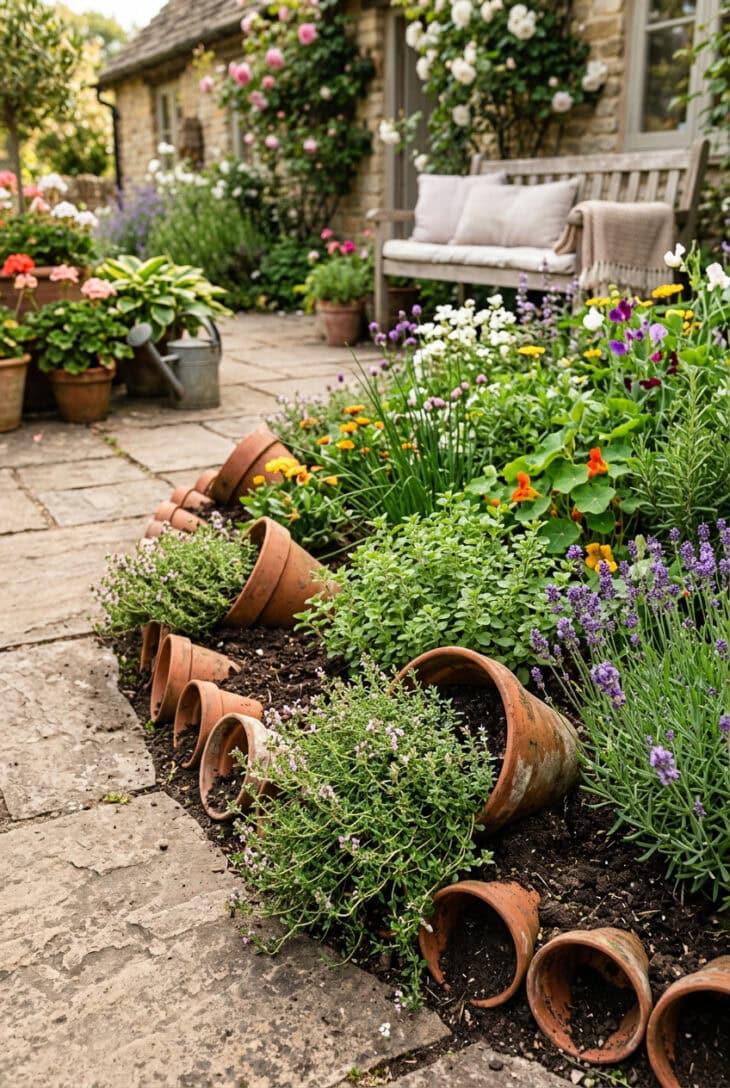
What you see Small clay pots tucked into the edge of a bed, some empty, some planted with trailing thyme.
Why it works This is edging as personality. It suits patios, herb beds and container garden ideas, especially when you have chipped pots too good to throw away.
How to get it Use similar terracotta tones so it looks collected rather than random. Half-bury each pot for stability, and reserve the planted ones for tough trailers like thyme, oregano or creeping sedum.
20. Paver Edge in Gravel
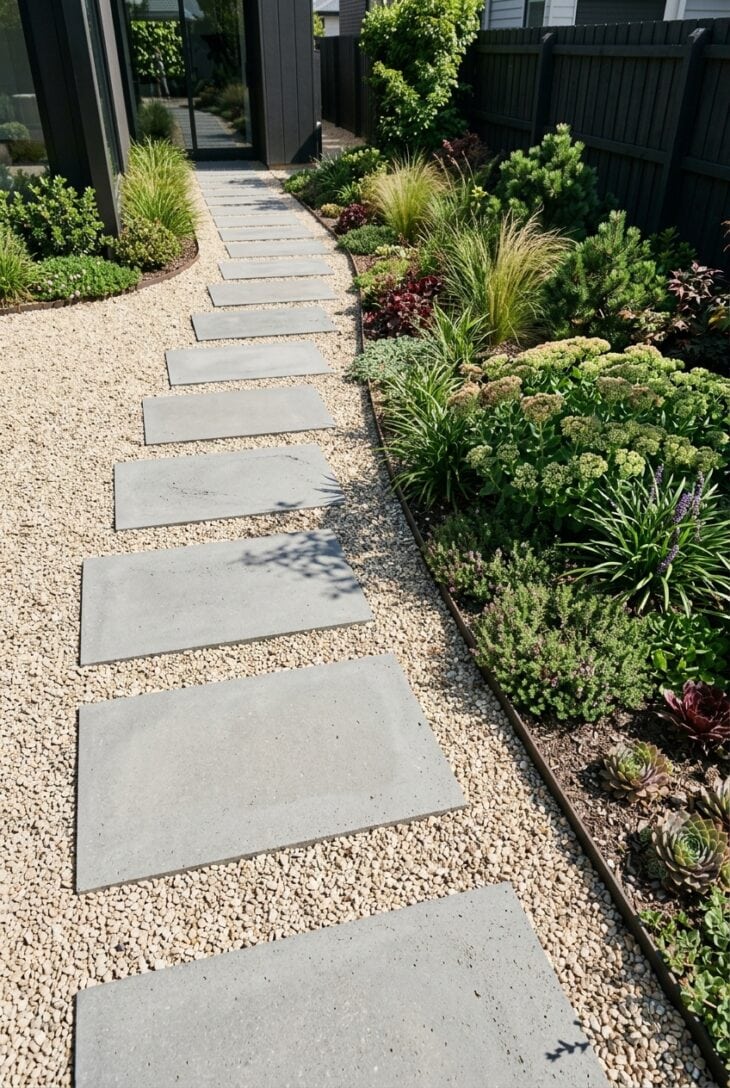
What you see Rectangular pavers stepping through gravel, aligned so one side makes a straight planting edge.
Why it works One material can do two jobs: route and edge. This is useful in small spaces where every extra strip of material would make the design feel cluttered.
How to get it Set pavers on a proper compacted base, not loose gravel alone. Keep the planting side aligned even if the walking rhythm varies slightly.
21. Alpine Stone Crevice Edge
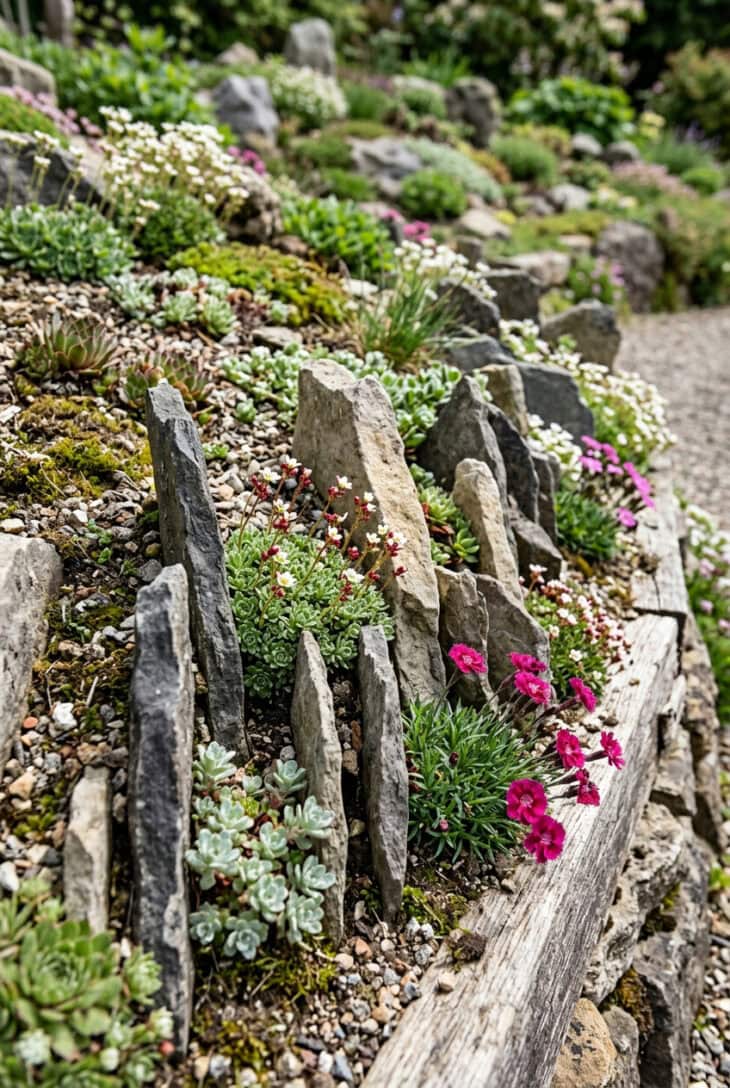
What you see Thin flat stones standing upright, packed tightly with tiny alpine plants in the cracks.
Why it works A crevice edge is not just a border; it is extra planting space. It gives alpines the sharp drainage their crowns need and makes the front of the bed worth looking at closely.
How to get it Set flat stones vertically with a gritty compost mix between them. Angle the stones very slightly back into the bed so rain drains inward, then plant small rooted pieces into the gaps.
22. Recycled Glass Bottle Edge
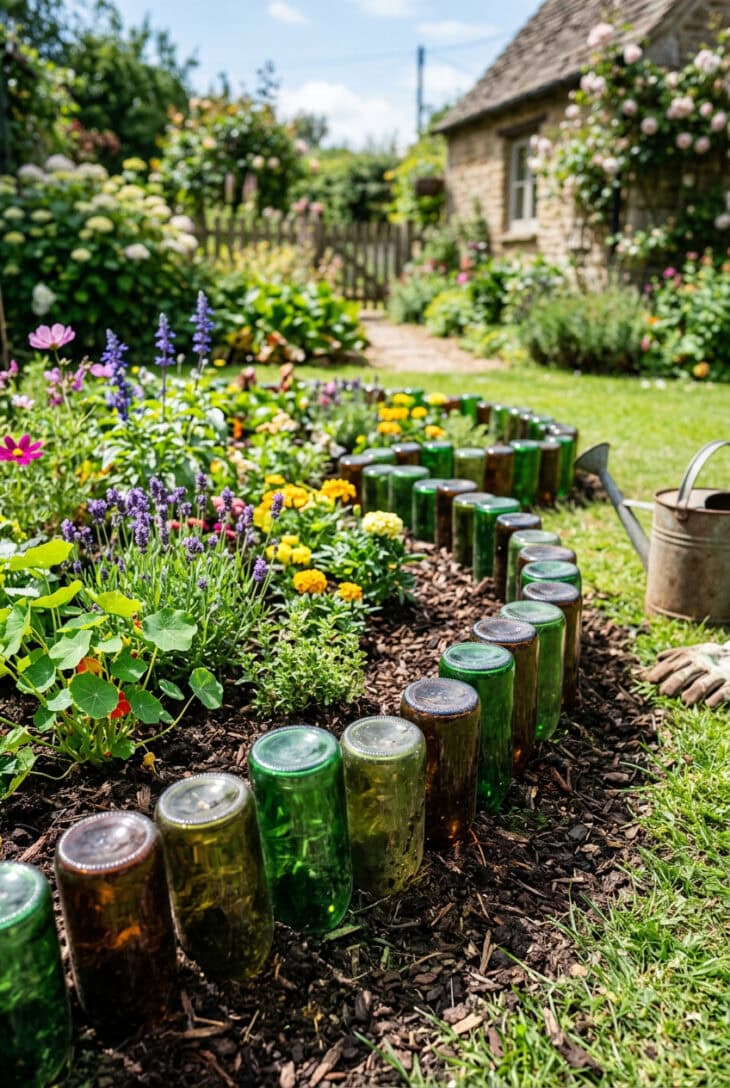
What you see Bottle bases making a dotted glass line around a small bed, catching flashes of green and brown in the sun.
Why it works Bottle edging is playful, cheap and best kept to small areas. It turns waste into a deliberate repeated material, which is what stops it looking accidental.
How to get it Use thick bottles of similar height, bury them neck-down at least halfway, and avoid spots where children play or mower wheels pass close. A short herb bed is a better home than a whole front boundary.
23. Low Dry-Stone Wall Edge
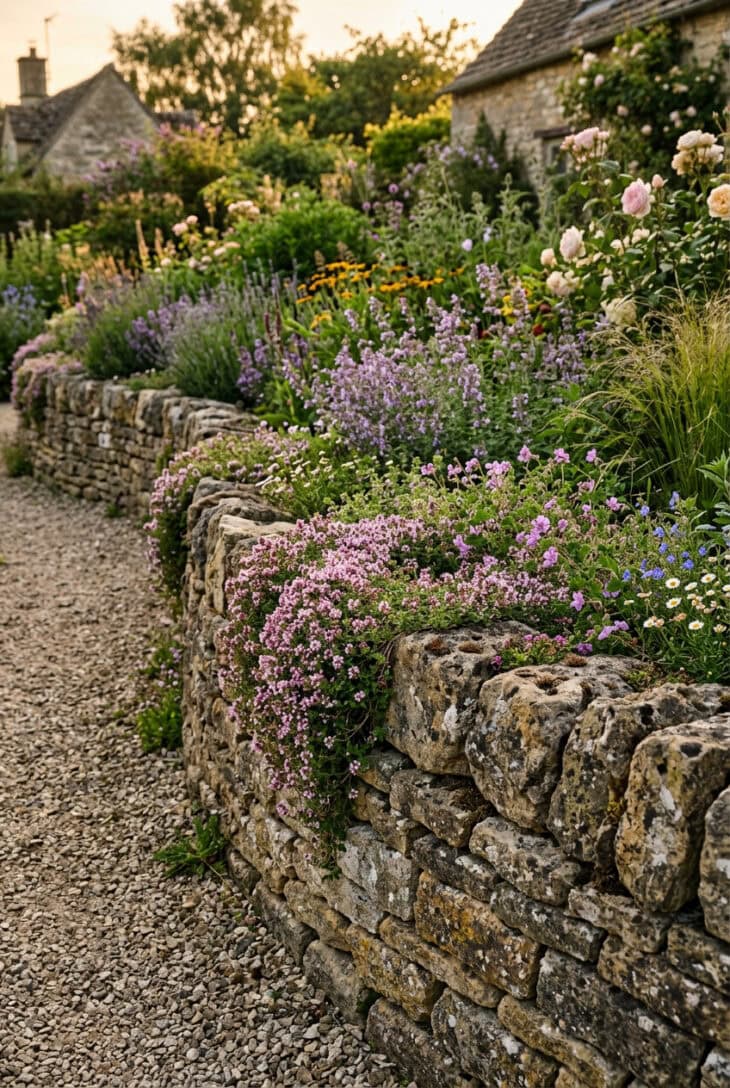
What you see Two or three courses of stone stacked into a low wall, with thyme softening the top and planting rising behind it.
Why it works A low wall gives an edge presence. It is excellent where a border is slightly raised, and its cracks create shelter for insects and tiny plants in wildlife garden ideas.
How to get it Use local stone if possible, batter the wall very slightly inward, and place the largest stones at the bottom. Even a low dry wall needs a firm, level base.
24. No-Dig Cardboard and Mulch Edge
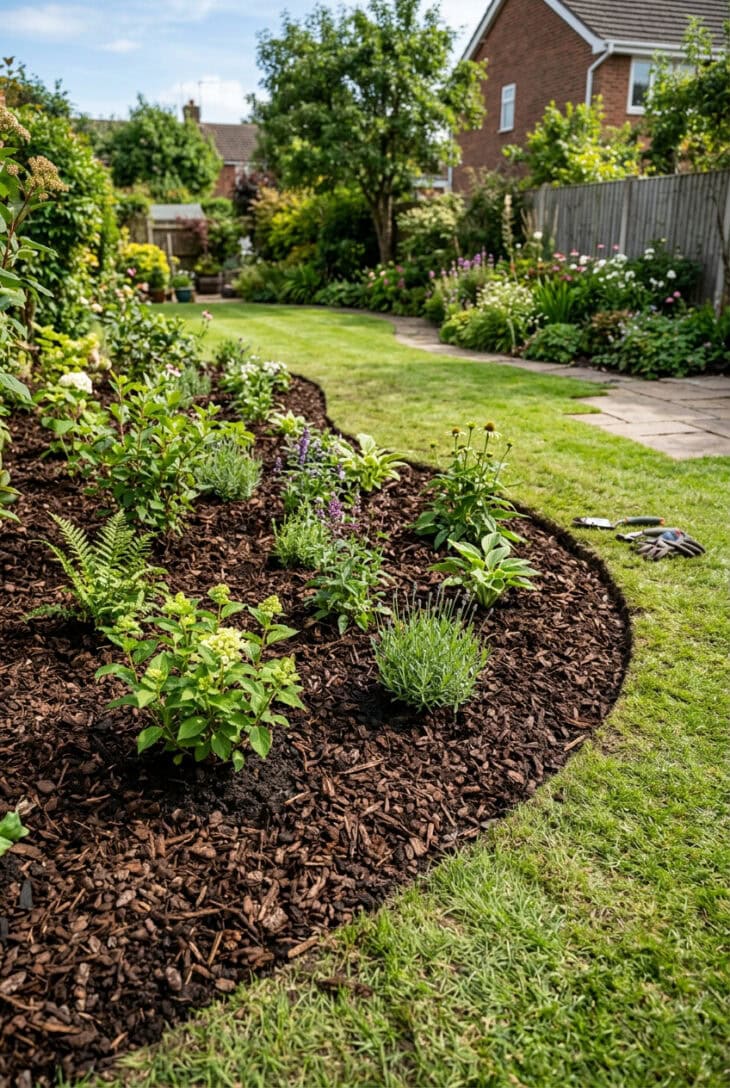
What you see A new bed cut into lawn without digging, its edge defined by a deep sweep of mulch over hidden cardboard.
Why it works This is the fastest way to enlarge a border. The cardboard suppresses grass while the mulch makes the line look finished from day one.
How to get it Overlap plain cardboard by at least 6in (15cm), wet it well, then cover with 3 to 4in (7.5 to 10cm) of composted bark or wood chips. Keep a clean cut lawn edge outside it so the grass does not creep back in.
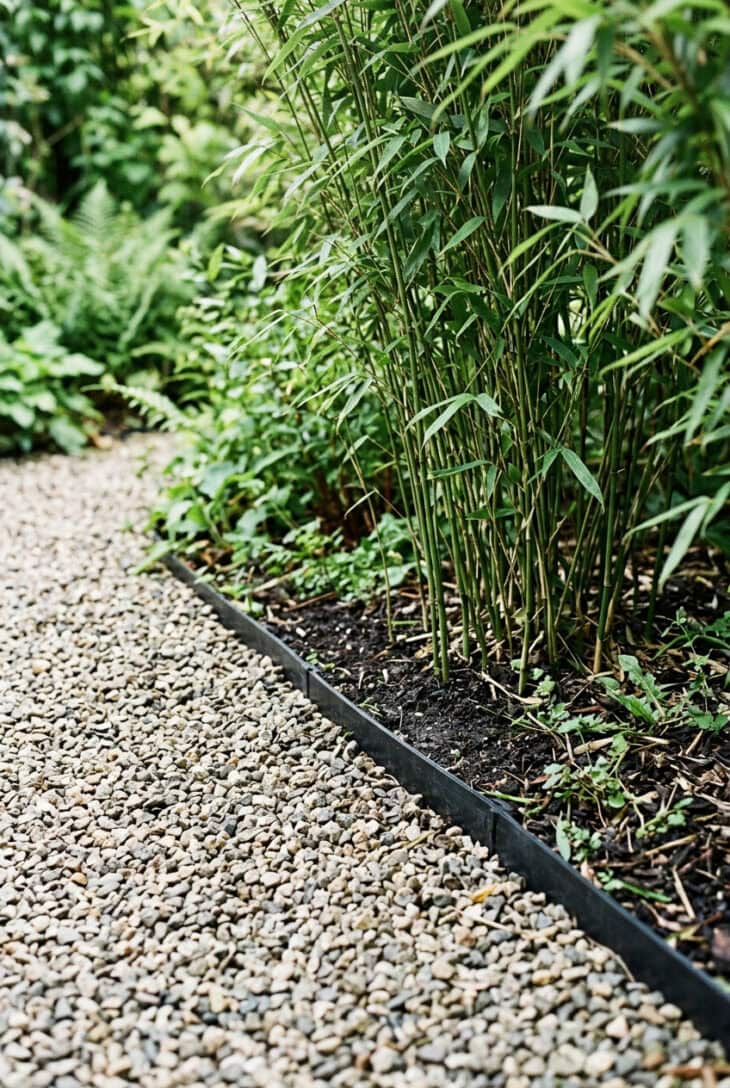
What you see Almost nothing: a thin black lip at soil level beside vigorous screening plants. The important part is below ground.
Why it works Some edging is about control, not decoration. Root barrier stops running plants from invading paths, lawns and neighboring beds, which matters around bamboo, mint, raspberries and aggressive ground covers.
How to get it Use purpose-made HDPE root barrier, not thin landscape fabric, and install it to the depth recommended for the plant. Leave a small lip above soil level so rhizomes cannot simply jump over the top unnoticed.